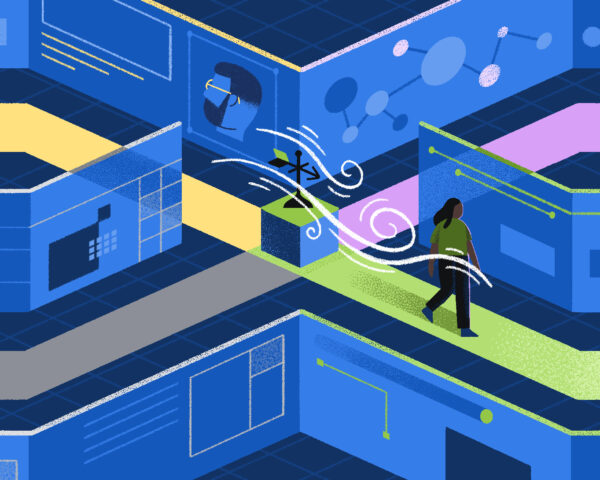


Work is no place for a frenemy
Don’t waste your precious time on fake friendships. Instead, learn to set boundaries and collaborate with anyone.

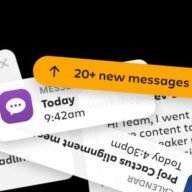
 Are you fluent in Gen Z’s ‘digital body language’?
 Say what you mean: how to become a more assertive communicator
 The subtle science of storytelling at work
 New research: Write more clearly and become a super communicator
More in Communication
New research: Write more clearly and become a super communicator
More in Communication
 RTO’d? Take these distributed practices back to the office with you
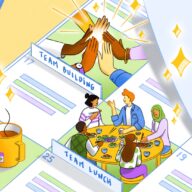 An intentional solution for worker loneliness
 Atlassian’s distributed work glossary
 New research: better meetings start with a page
More in Distributed Work
New research: better meetings start with a page
More in Distributed Work
 Lead how they need: adopting a situational leadership style
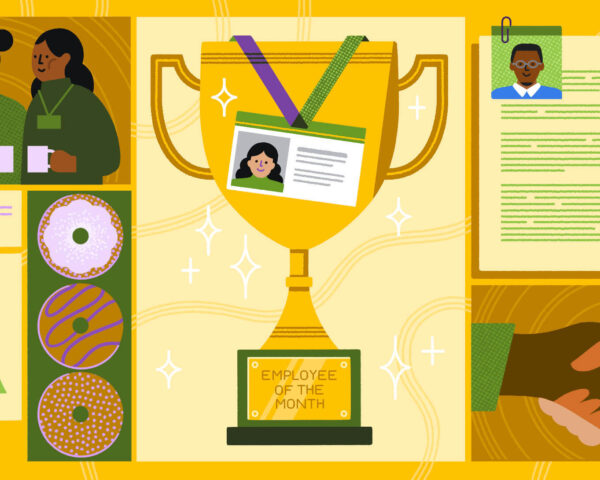
 Your employees might not feel like they matter. These are the subtle signs
 How to avoid “manager crash” in 2025 and beyond
 How to delegate when you’re wired to do the work
More in Leadership
How to delegate when you’re wired to do the work
More in Leadership
 Why the power of habits might just live up to the hype
 Team Playbook: Your AI teammate
 How to take ownership of your work (and why you should)
 To-do list trickledown: How to stay organized and keep your team on track
More in Productivity
To-do list trickledown: How to stay organized and keep your team on track
More in Productivity
 Find stuff fast: How to end the endless hunt for information
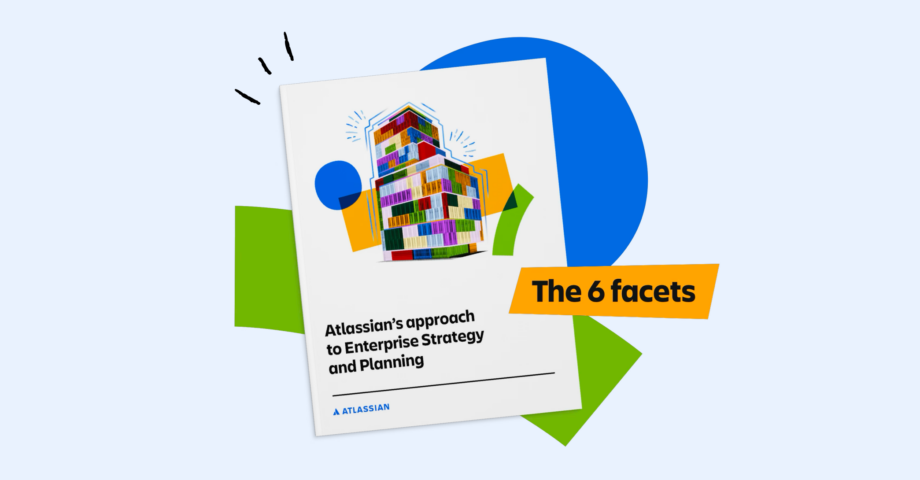
 Atlassian’s approach on Enterprise strategy and planning
 Control the chaos: a smarter approach to planning your work
 Clarity is key: how to align your team on their goals
More in Strategy
Lead how they need: adopting a situational leadership style
Clarity is key: how to align your team on their goals
More in Strategy
Lead how they need: adopting a situational leadership style
 Work is no place for a frenemy
 No shortcuts, just strategy: how Atlassian Williams Racing is engineering a 2026 comeback
 Teamwork at its fastest: the unsung heroes behind every Formula 1 win
More in Teamwork
Teamwork at its fastest: the unsung heroes behind every Formula 1 win
More in Teamwork


Work Life is Atlassian’s flagship publication dedicated to unleashing the potential of every team through real-life advice, inspiring stories, and thoughtful perspectives from leaders around the world.
Learn more about Work Life


Don’t waste your precious time on fake friendships. Instead, learn to set boundaries and collaborate with anyone.
In the new, younger world of work, emojis are more than just a nice-to-have.
Turns out, effective leadership is less about particular style, and more about adapting to the situation.
As humans, the only way to survive and thrive is through our relationships with other people. That means mattering to...
Meaningful steps organizations can take to support wellbeing, bolster resilience, and set the stage for leaders to thrive.

Get articles like these delivered to your inbox every two weeks.
A candid chat with drivers Alex Albon and Carlos Sainz on teamwork, sacrifice, and innovation.
Turn scattered info into easy-to-find knowledge, and make it your company’s superpower.
Today, I’m going to state our point of view on the modern disciplines of strategy and planning. We recently published...
Expert advice on giving voice to the future you want, plus a template to keep track of it all.