ISP-Server Setup - Ubuntu 5.10 "Breezy Badger"
ISP-Server Setup - Ubuntu 5.10 "Breezy Badger"
Version 1.0
Author: Till Brehm <t.brehm [at] ispconfig [dot] org>, Falko Timme
This is a detailed description about the steps to be taken to setup a Ubuntu based server (Ubuntu 5.10 - Breezy Badger) that offers all services needed by ISPs and hosters (web server (SSL-capable), mail server (with SMTP-AUTH and TLS!), DNS server, FTP server, MySQL server, POP3/POP3s/IMAP/IMAPs, Quota, Firewall, etc.).
I will use the following software:
- Web Server: Apache 2.0.x
- Mail Server: Postfix (easier to configure than sendmail; has a shorter history of security holes than sendmail)
- DNS Server: BIND9
- FTP Server: proftpd
- POP3/POP3s/IMAP/IMAPs: in this example you can choose between the traditional UNIX mailbox format (we then use ipopd/uw-imapd) or the Maildir format (in this case we will use Courier-POP3/Courier-IMAP).
- Webalizer for web site statistics
In the end you should have a system that works reliably and is ready for the free webhosting control panel ISPConfig (i.e., ISPConfig runs on it out of the box).
I want to say first that this is not the only way of setting up such a system. There are many ways of achieving this goal but this is the way I take. I do not issue any guarantee that this will work for you!
Requirements
To install such a system you will need the following:
- A Ubuntu install CD (available here: http://www.ubuntu.com/download/)
- An internet connection since I will describe a network installation in this document.
1 The Base System
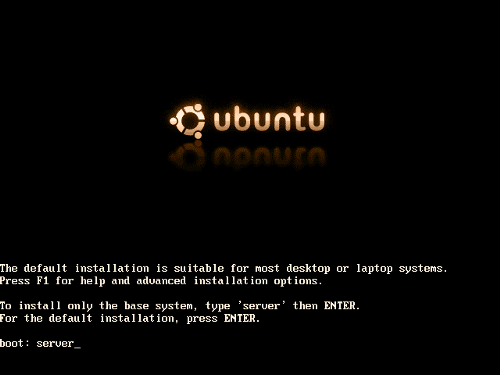
Insert your Ubuntu install CD into your system and boot from it (enter server at the boot prompt to install only a base system suitable for servers).
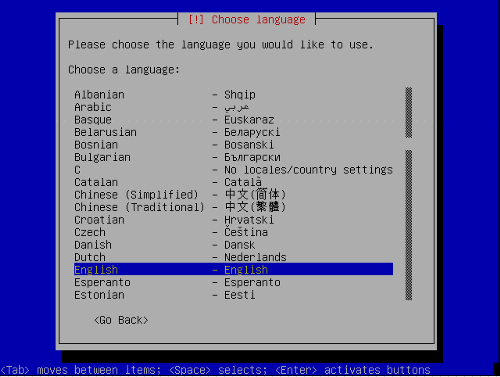
The installation starts, and first you have to choose your language:
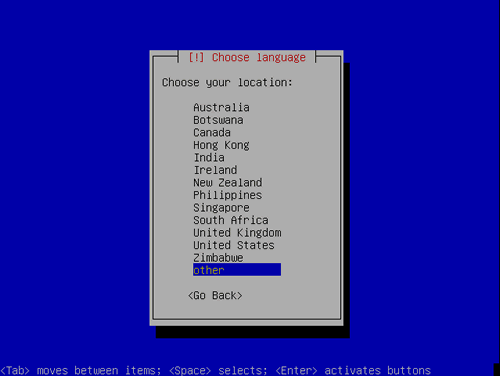
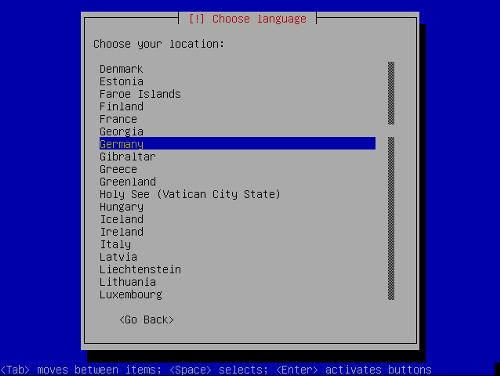
Chose your location:
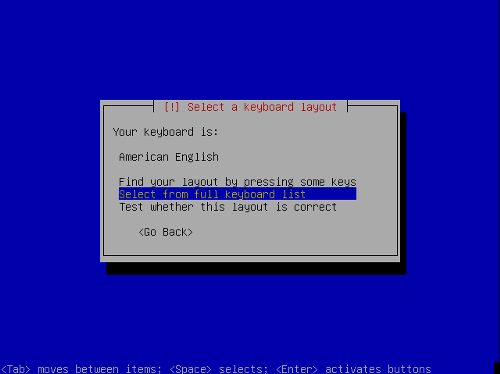
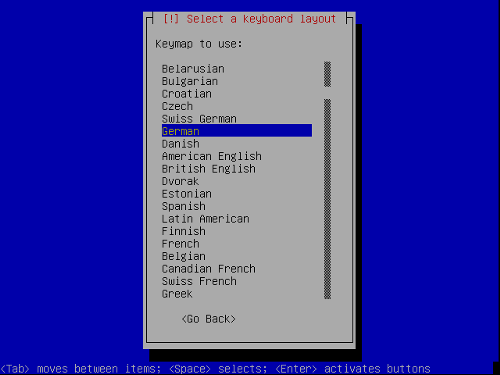
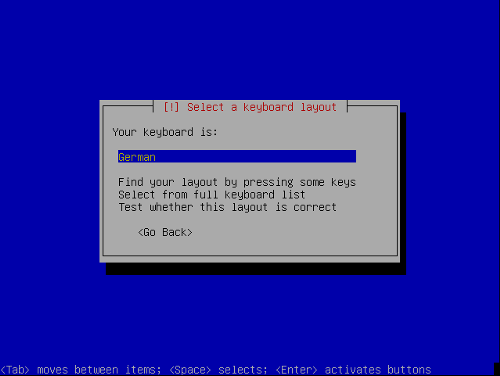
Choose a keyboard layout:
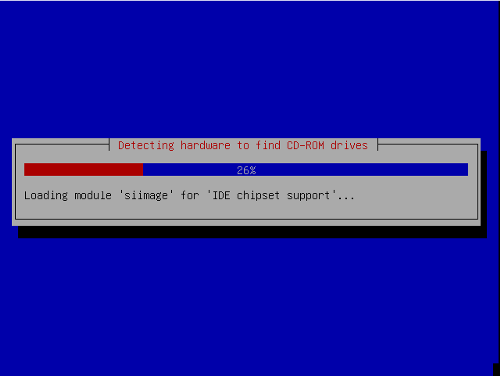
The hardware detection starts:
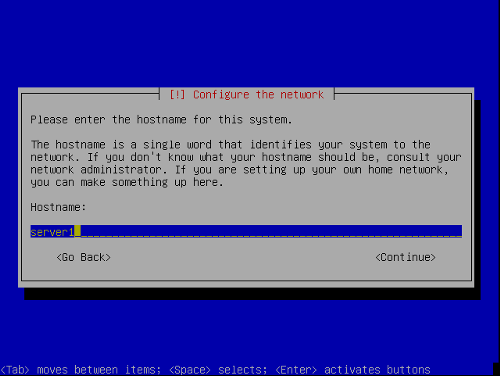
Enter the hostname. In this example, my system is called server1.example.com, so I enter server1:

